
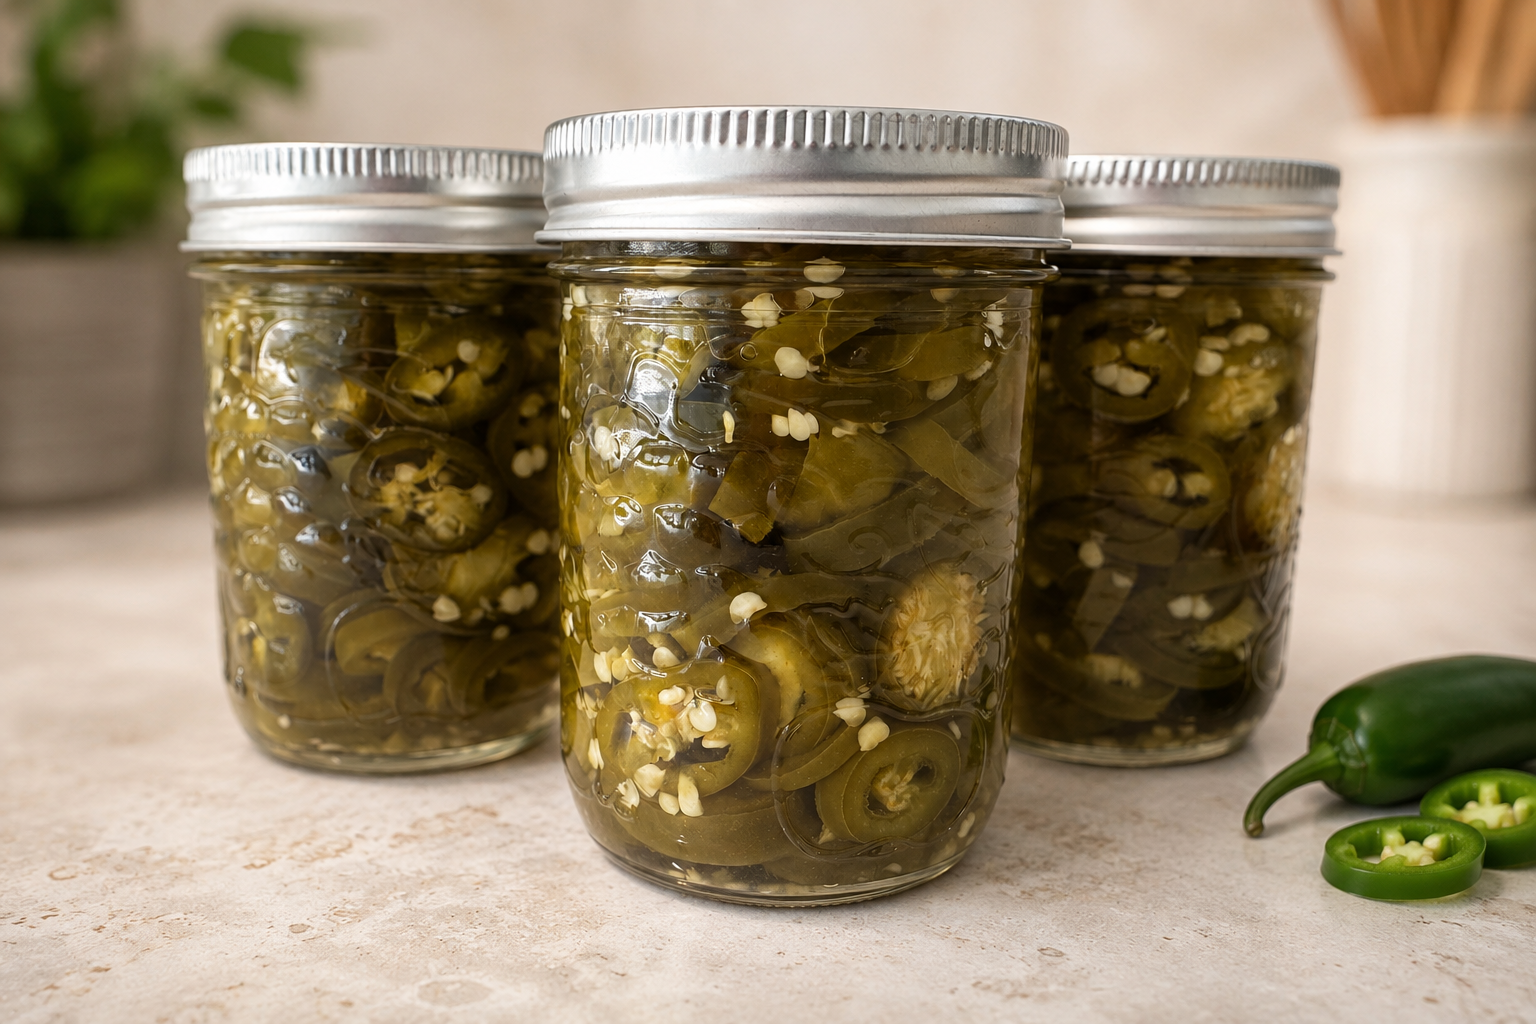
Simple Canned Jalapeño Rings
If you have an abundance of fresh jalapeños, canning them is an easy way to preserve them and have jars ready whenever you need a little extra heat. These simple canned jalapeño rings are tangy, spicy, and made with a straightforward vinegar brine. Perfect for nachos, tacos, burgers, sandwiches, pizza, and so much more.
Prep time
30 min
Cook time
15 min
Serves
Ingredients
▼
- About 40–45 (approx. 4½ lb)fresh jalapeño peppers
- 5 cupswhite vinegar (5% acidity)
- 5 cupswater
- ½ cuppickling salt
Ingredients
- About 40–45 (approx. 4½ lb)fresh jalapeño peppers
- 5 cupswhite vinegar (5% acidity)
- 5 cupswater
- ½ cuppickling salt
Instructions
Prepare the Jalapeños
- 1
Wash the jalapeños thoroughly.
- 2
Wear gloves while handling and slicing hot peppers. Remove and discard the stems, then slice the jalapeños into approximately ¼-inch rings.
Prepare Your Canner and Jars
- 1
Prepare your boiling-water canner according to standard home-canning procedures.
- 2
Wash your jars thoroughly and keep them hot until you're ready to fill them.
Pack the Jars
- 1
Pack the sliced jalapeño rings firmly into the hot jars.
- 2
When you think you've packed enough in — pack in a few more! The jalapeños will begin to soften and settle surprisingly quickly once you add the hot brine, so you want to start with well-packed jars.
Make the Brine
- 1
Combine the white vinegar, water, and pickling salt in a large stainless-steel or non-reactive saucepan.
- 2
Bring the mixture to a boil over medium-high heat, stirring until the salt has completely dissolved.
Add the Hot Brine
- 1
Carefully ladle the hot brine over the jalapeños.
- 2
Once the hot brine is added, the peppers will quickly begin to soften and settle. Use a clean spoon or canning utensil to gently tuck additional jalapeño rings into the available spaces.
- 3
Remove trapped air bubbles and add additional hot brine as necessary, while maintaining ½-inch headspace at the top of each jar.
Add the Lids
- 1
Wipe each jar rim thoroughly with a clean, damp cloth or paper towel.
- 2
Center the lids on the jars and apply the screw bands until fingertip-tight.
Process the Jars
- 1
Place the filled jars into your prepared boiling-water canner, making sure the jars are covered with at least 1 inch of water.
- 2
Cover the canner and bring the water to a full rolling boil.
- 3
Process according to the processing time required for the tested recipe you're following, your jar size, and your elevation.
Cool and Check the Seals
- 1
Once processing is complete, remove the jars and place them upright on a towel-covered counter or cooling rack. Allow them to cool undisturbed for 12–24 hours. Do not press down on the lids or retighten the bands while the jars are cooling.
- 2
Once completely cool, remove the screw bands and check each lid. A properly sealed lid should not flex up and down when pressed in the center.
- 3
Refrigerate any jar that has not sealed properly.
- 4
Label and date your sealed jars before storing them in a cool, dark, and dry pantry.
Melissa's Notes
**My biggest tip: pack those jalapeños!** When you think you've packed enough into the jar, pack in a few more. As soon as you pour in the hot brine, the rings begin to soften and settle. Use a clean spoon to tuck more rings into the spaces that appear — you want a nicely packed finished jar, not a jar that's mostly brine. Just remember to always maintain the required ½-inch headspace.
**Food safety note:** Always follow a current, research-tested home-canning recipe and the latest recommendations from a recognized authority such as the National Center for Home Food Preservation (NCHFP). Use vinegar labelled at least 5% acidity, never reduce the vinegar or increase the water, and always adjust processing time for your elevation. The ingredient quantities in this recipe reflect what I made in my own kitchen — before using any recipe for shelf-stable home canning, compare it with a current research-tested recipe from the NCHFP, USDA, Ball/Bernardin, or another recognized authority.
Nutrition Information
Per 2 tbsp
Nutrition information is an estimate and may vary depending on the ingredients and brands used.
Join the Nest
Get 10 free recipes — sign up for The Cozy Weeknight Dinner Plan.
Want to save this recipe? Print it out, share with a friend, or follow along on social.